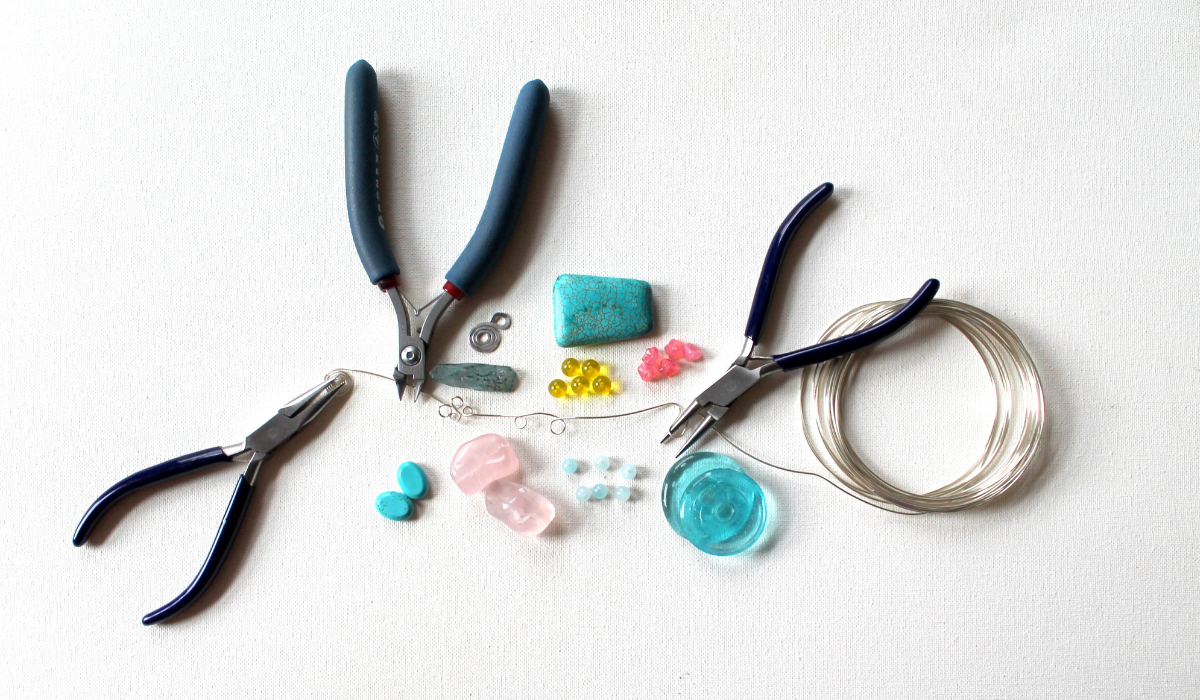
Learn how to make creative
wire wrapped jewelry . . .
even if you’ve never made jewelry before!
Learn the basics of making wire wrapped jewelry – step-by-step – even if you have no idea where to start, so you can start making and designing your own beautiful jewelry with my FREE Intro to Wire Wrapping Workshop!

You want to express your creativity with jewelry making,
but . . .
You don’t know where to start.
There are tutorials on the internet, but you just want everything in one place.
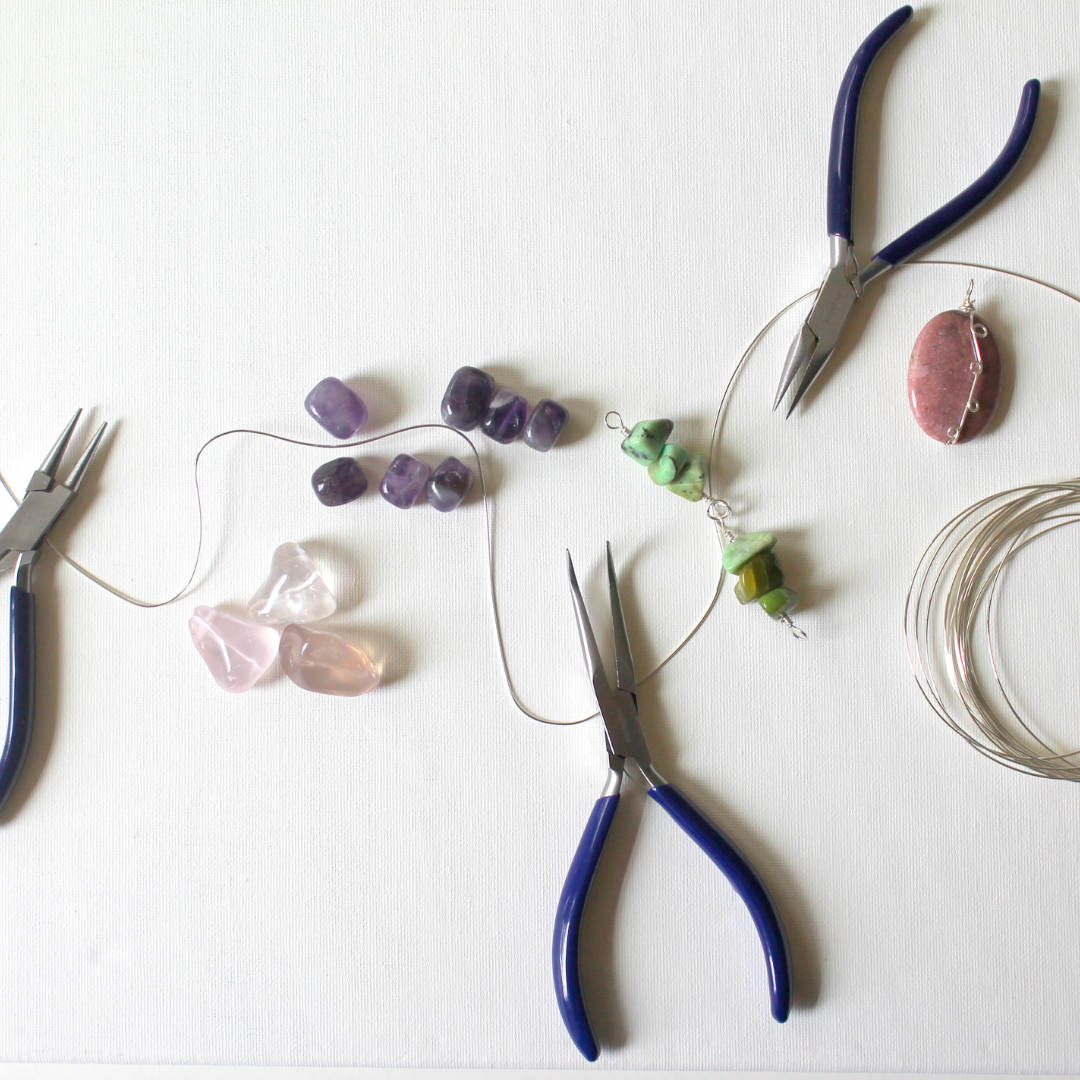
You want an easy way to make wire wrapped jewelry so you can move on to make your own designs.
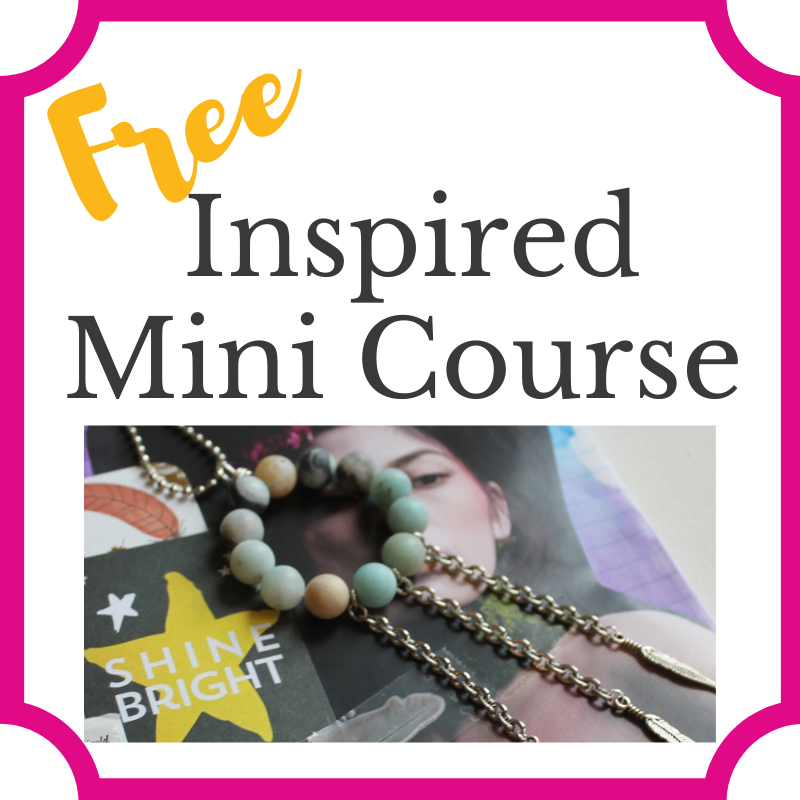
That’s why I created my FREE Intro to Wire Wrapping Workshop!
To empower you with the skills and knowledge you need to get started making wire wrapped jewelry, so you can express your creativity through making jewelry!


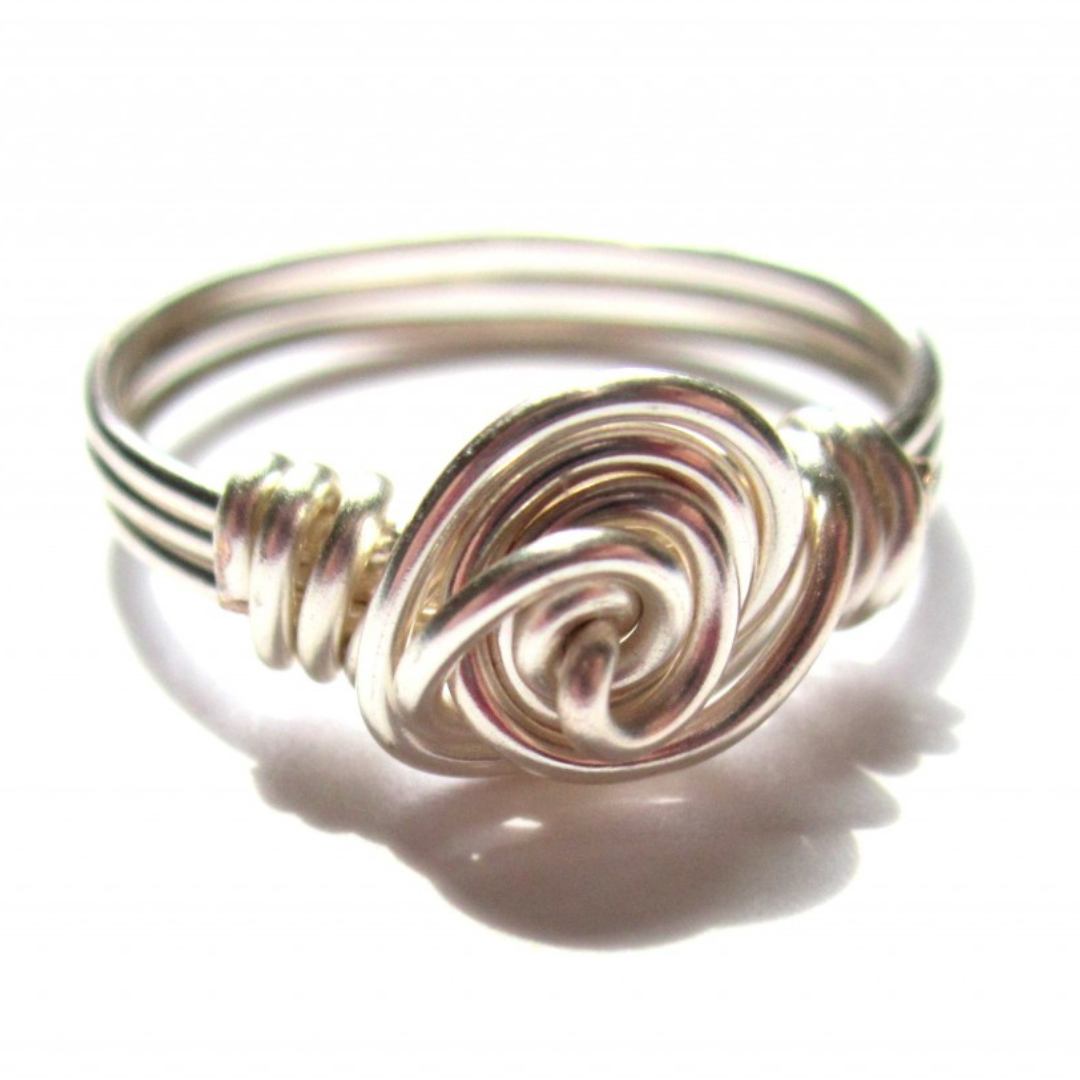
Intro to Wire Wrapping Jewelry Workshop is unlike anything else you’ll find.
I’m not going to teach you complicated and confusing techniques for loops and wraps.
And I won’t tell you that you have to use certain supplies or materials — I give you the recipe, you can change the ingredients.
Because, seriously, it doesn’t have to be so unattainable and confusing. You just want to make your own unique jewelry.


About Me:
I’m Kimberlie Kohler. (You can call me Kim.) I teach jewelry making and creativity here on this website. I have a blog, a YouTube channel and hold eCourses and eWorkshops.
My specialty is wire wrapping and making jewelry less complicated with very clear, step-by-step photos and videos. I love sharing creativity tips and giving inspiration for creativity.
Even if you haven’t expressed yourself creatively since you were young, it’s still inside you. Get started today with one of my free resources.