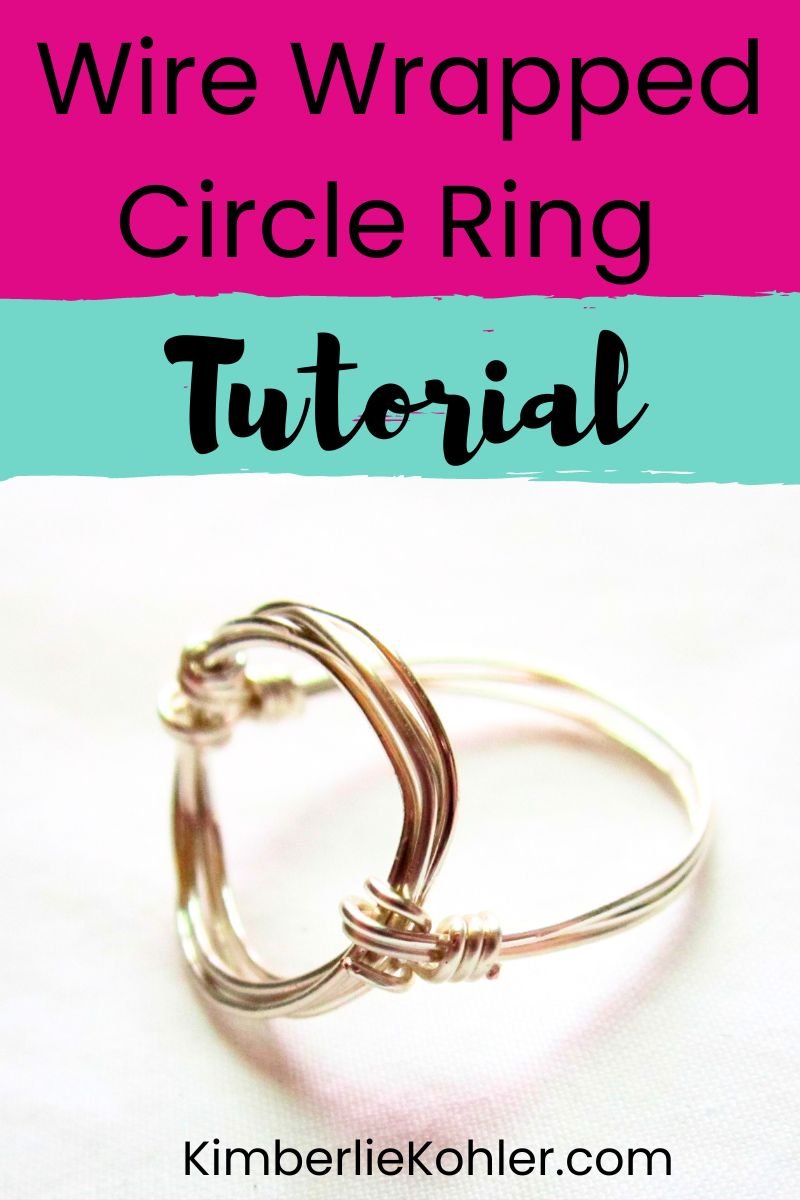
Wire Wrapped Circle Ring Tutorial
Welcome to ECT TV Episode 7!
I'm so excited to share this episode because this tutorial is really so much fun!
Here's video for ECT TV:
Getting Started Making Rings With No Tools:
You can give this tutorial a try before you invest in tools to make jewelry.
Try using cylindrical things from around the house: big markers or pens, paintbrush handles or anything else that seems about the right size.
Dowel rods as mandrels - go to the hardware store and find a dowel rod that's the right size.
Inexpensive ring sizer. Ring mandrels are metal or wood, but you can find hard plastic ring sizers that will work as long as you're not hammering too much. In fact, in this tutorial I used an inexpensive ring sizer that I got for a few dollars.
This project uses a pair of serrated pliers. You can borrow these from your toolbox. Mine are from my dad. They even have wire cutters included, so you could try this project with just that one tool.
Wire Wrapped Circle Ring Tutorial
This unique ring is a lot of fun to make. Make sure to check out the end for a fun twist to bling up the ringWire Wrapped Circle Rin
Tools and Materials:
22 Gauge Wire (round, half-hard)
Ring mandrel (or see suggestions above)
Serrated pliers (they have teeth)
Wire cutters
Chain nose pliers (non-serrated, no teeth)
Step #1
Cut a piece of 22 gauge wire to about 12 inches. Set it aside momentarily.
Step #2
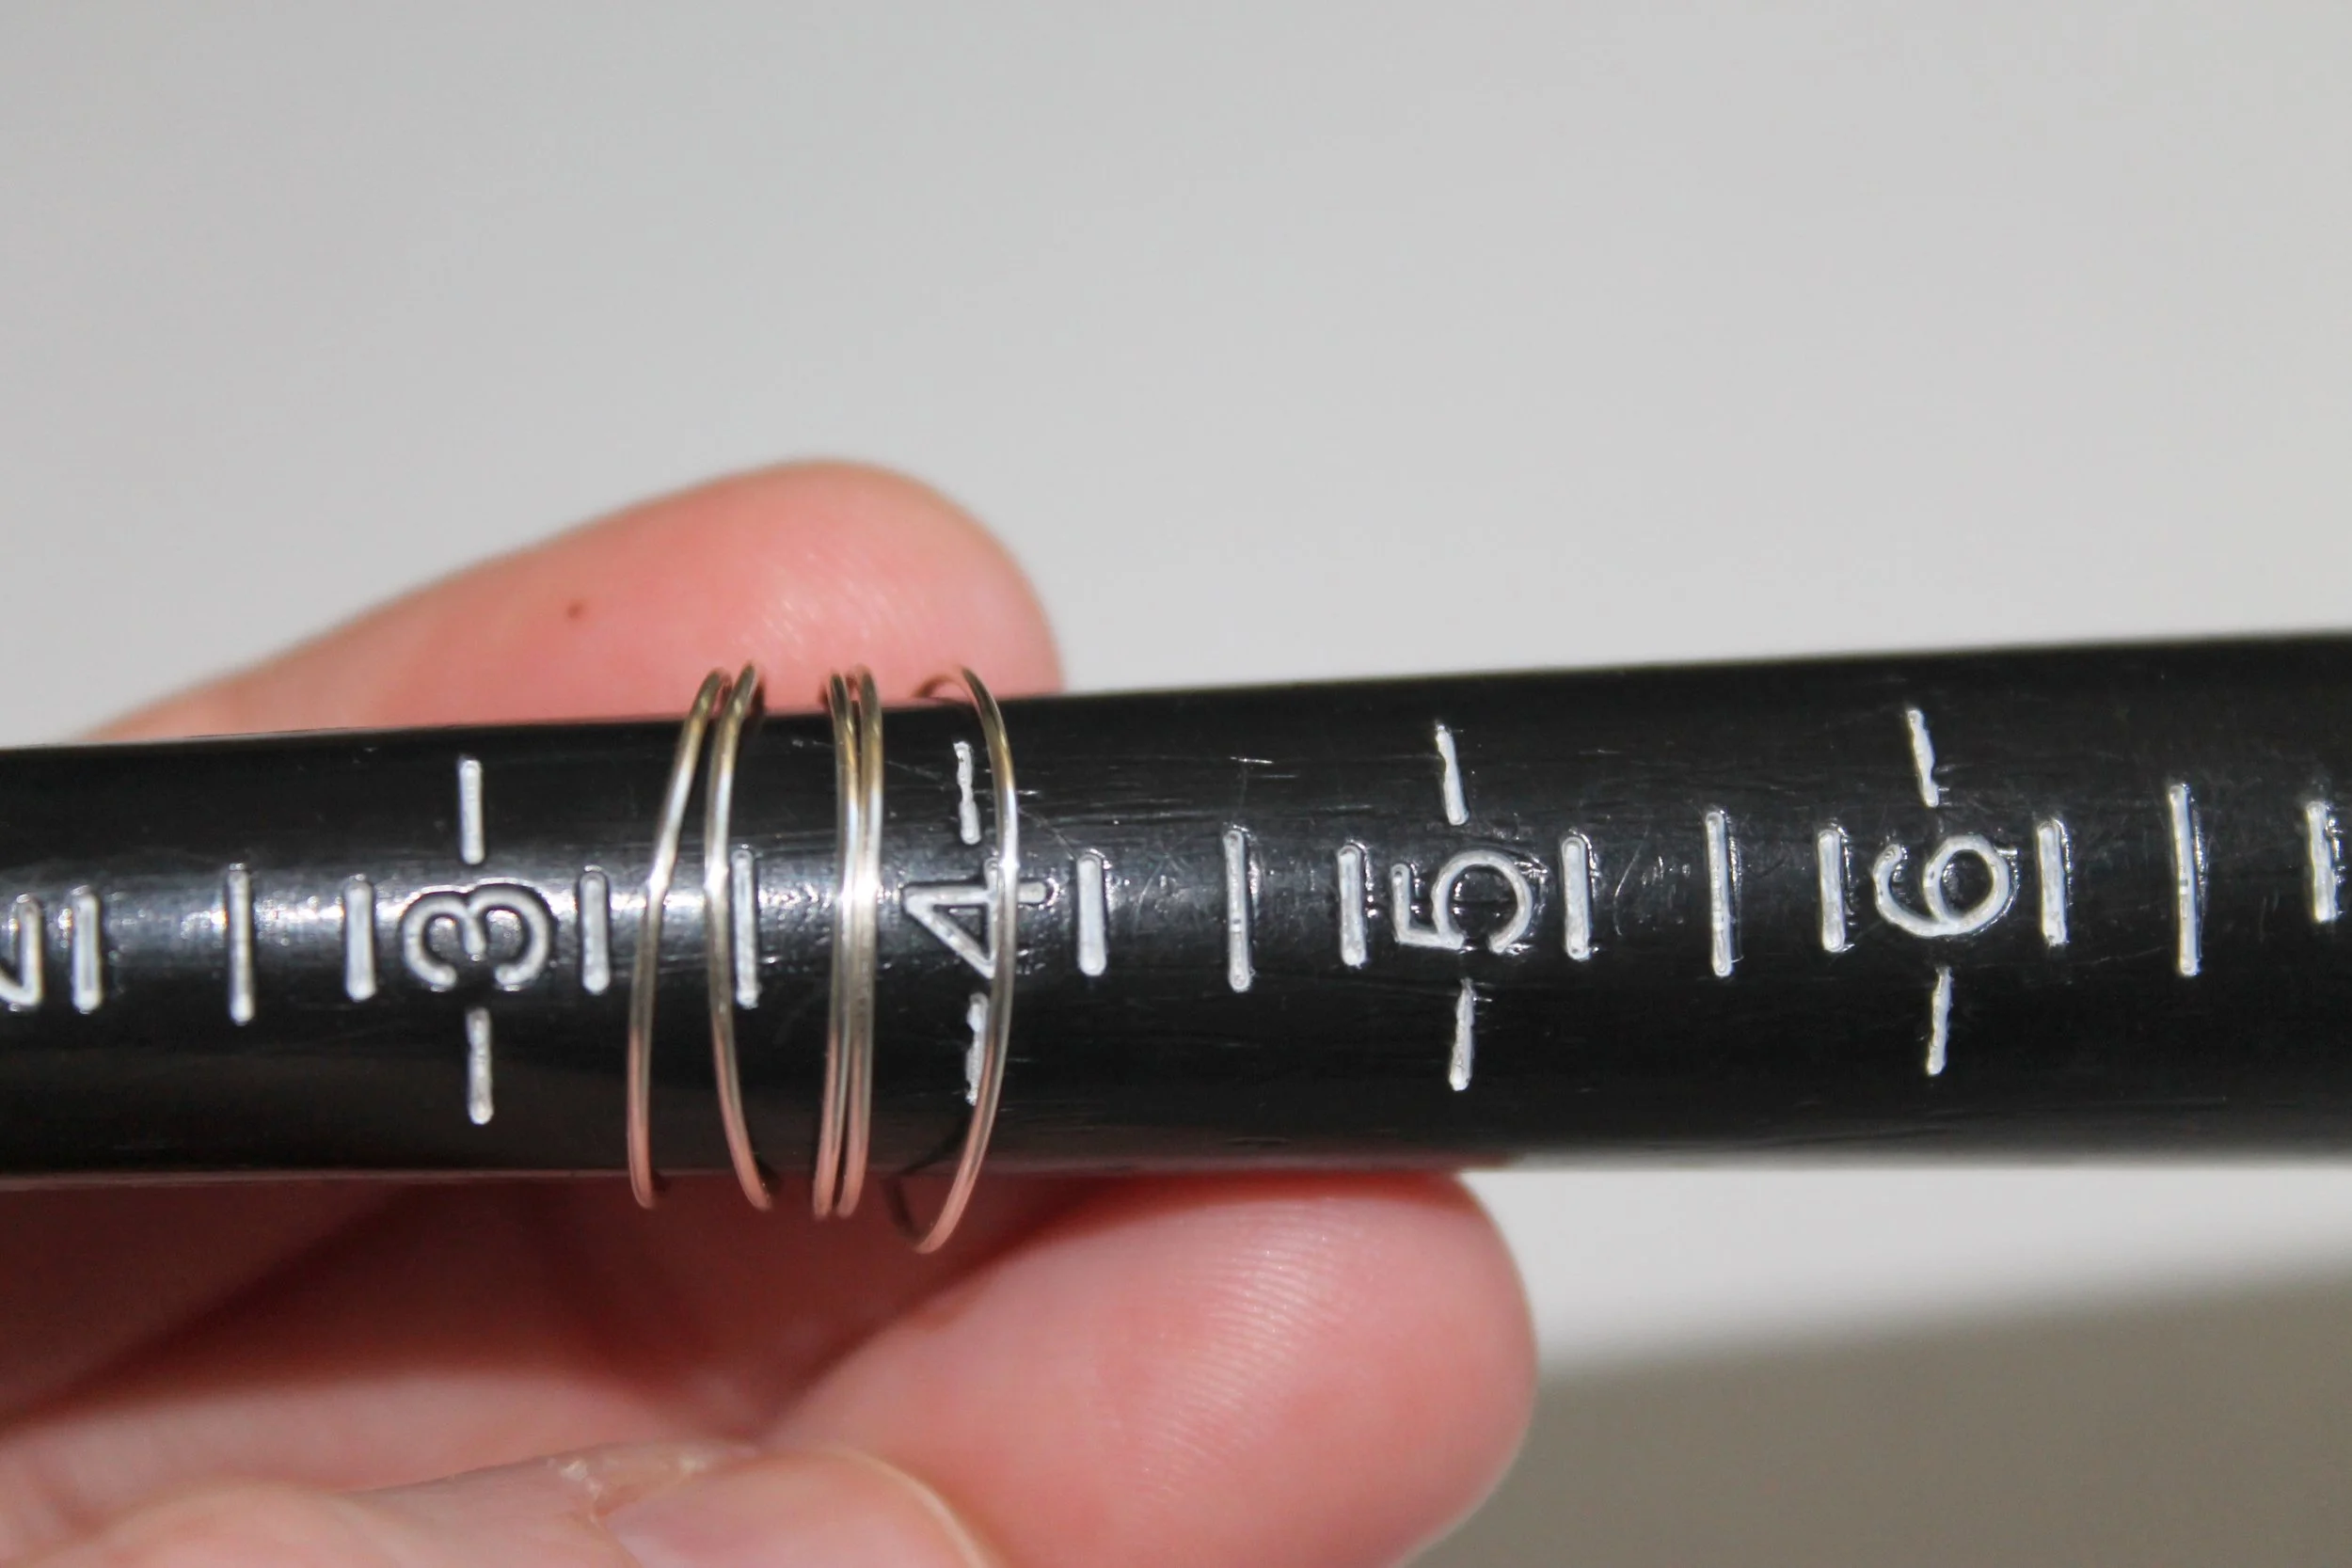
Working from the spool of wire, wrap around your cylindrical object or ring mandrel about 4 or 5 times. Then cut the wire
If you're using a ring mandrel, I used about the size 4 area of it.
Step #3
Carefully slide the coil off the ring mandrel.
Step #4
Find the middle of the 12" wire you cut before and then bend it around the ring mandrel with the ends of the wire pointing straight up.
Step #5
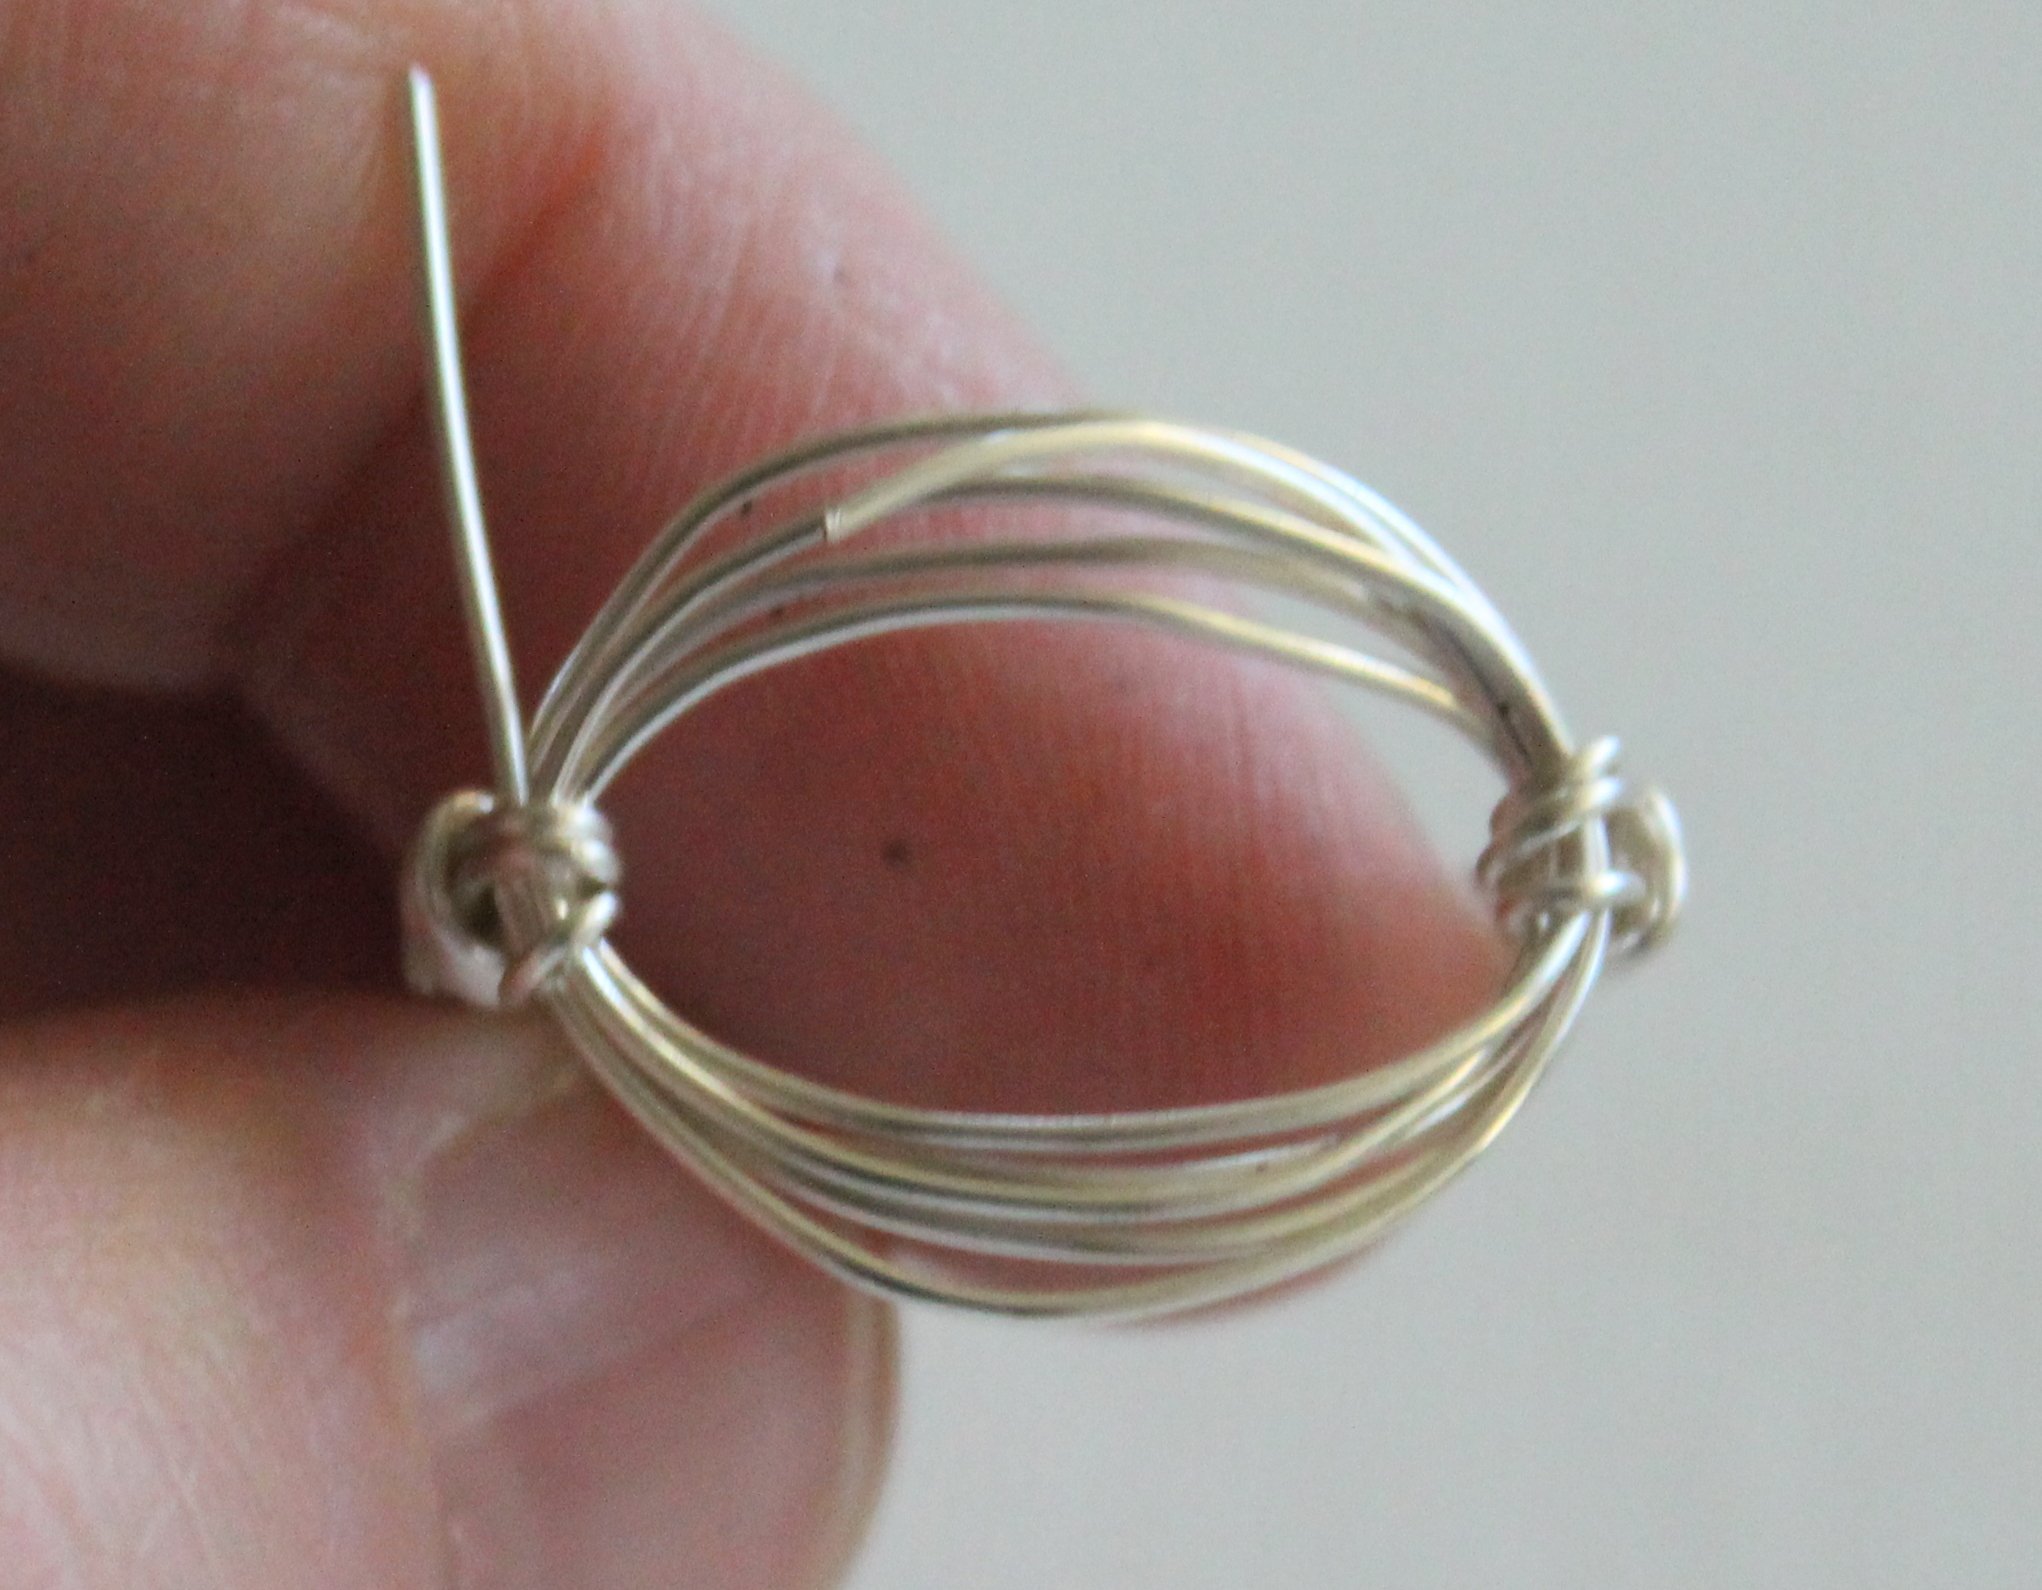
Slide the coil you made onto the wire. The 2 loose ends with come up through the middle of the circle.
Step #6
Pull the wires to the side. (Note: don’t worry about the loose ends of the wire from the coil. We’ll deal with those at the very end.)
Step #7
Wrap both wires around the back of the mandrel being careful not to twist them.
Step #8
Then pull the ends of the wire up into the middle of the circle and out again. Go around the back of the mandrel again. I did this so I had 5 wires showing in the back.
Step #9
Carefully pull the ring off of the mandrel. Wrap the loose end around the wires of the base of the ring next to the circle on each side.
Step #10
Place the ring back on the mandrel. Push it down as far as it will go. Use serrated pliers to pull the loose end down as tightly as you can and then up.
Step #11
Pull the ring off the mandrel. Continue wrapping around the sides near the circle three more times.
Step #12
Once again, place the ring back on the mandrel and pull the loose wires tightly and then up.
Step #13
Trim off the excess wire so that it ends on the top.
Step #14
Use chain nose pliers (non-serrated) to push down the end of the wire so that it’s not poking up.
Step #15
You might find that your circle will turn into an oval. If this happens, just put the circle on the mandrel and reshape it.
Step #16
Finally, the last step is taking care of the ends of the wire from the circle part. Just wrap them around in through the circle next to the other wraps from the ring and trim off the excess on the outside of the ring.
I love this ring as is. It's simple. It's beautiful. It goes with everything. But if you want a little more sparkle and bling, here's how to add it!
You follow the same exact steps as above with one little change.
Add beads to the wire before you form the circle part of the ring.
I added about 35 seed beads. I also put a bit of tape on the end of the wire to hold on the beads before I wrapped the wire around the ring mandrel.
Then you follow the same basic steps outlined above.
When you first put the circle onto the other wire, adjust the beads how you would like them. They will mostly stay in that position.
Alternatively, you could add even more beads and have it solidly beaded.
TIP: I didn't even realize I did this until I was editing photos, but when I was wrapping the ring, I got some of the beads caught in the wraps on one side. Be careful to get your wire in between the wire, not under it.
Other ideas for Customization:
Bead it solidly.
Make the circle a different color metal from the rest of the ring.
Multicolored beads.
Did you like this tutorial?
Want to learn how to make a variety of different wire wrapped jewelry components and learn to easily put together your own jewelry pieces?
Check out my Wire Wrapping for Beginners eCourse!
In Wire Wrapping for Beginners, I show you how to make a variety of beginner jewelry components. Then I give you “recipes” for jewelry pieces. You’ll learn how to make the jewelry pieces, but you can also switch out different components to really customize the pieces in your own personal style.
Get all the details and decide if it’s right for you here: Wire Wrapping for Beginners


