Ornate Headpins & Earring Video Tutorial - ECT TV Episode 33

In this episode of ECT TV (Emerging Creatively Tutorials TV) you'll learn how to make an ornate headpin from wire and then I'll show you a quick project to use those headpins.
Don't let your creativity end with what I show you, though. Come up with your own design for your headpins! And then use them in your jewelry projects however you like!
Tools & Materials (for both projects):
20 gauge half-hard round wire (any metal that you choose)
2 beads of your choice. I used: Green Aventurine Nuggets
2 Earring wires (Or make your own earring wires)
Round nose pliers
Sharpie
Chain nose pliers
Bent nose (or another pair of chain nose) pliers
Wire cutters
Hammer and steel bench block or anvil (Use a rawhide or nylon hammer to harden the wire without flattening it or use a chasing hammer to flatten the wire.)

Step #1
Use the sharpie to make a mark on your round nose pliers so that your loops are uniform. I marked mine about halfway. It doesn't matter so much where you place the mark, but that you consistently use that spot in your project. For more on this wire wrapping trick, click here.
Step #2
Cut a piece of wire to 6 inches. (In the video I said 8 inches, but you really only need 6 inches unless you're going to be adding a lot of beads to the headpin when you're done.

Step #3
Hold the wire about 3" from the top in your round nose pliers. The wire should line up with the mark you made on your pliers.

Step #4
Wrap the wire around the round nose pliers like you're making a wire wrapped bead link.
Step #5
Remove the loop from your pliers. You'll notice that the loop is off center and we want it centered over the wire.

Step #6
Hold the loop in chain nose pliers. As you wrap the wire from the loop around the other wire, pull that other wire straight out and use chain nose pliers to straighten the loop.

Step #7
Now we'll make a second loop. I just used my thumb and bend against the wire to create a curve and then went completely around. You may want to use pliers for this. Long needle nose pliers are good for this kind of thing because they have a very small tip.

Step #8
Hold the loops in your finger and wrap the short end around the long end of the wire next to where your first wrap was.

Step #9
Trim off any excess wire and make sure the end is not poking out.

Step #10
Hammer just the top part.
Step #11
Repeat and make a second headpin if you're continuing with the earring project.
Step #12
Make earring wires if you're making your own. (Click here for a video tutorial.)
Step #13
Slide a bead onto a headpin.

Step #14
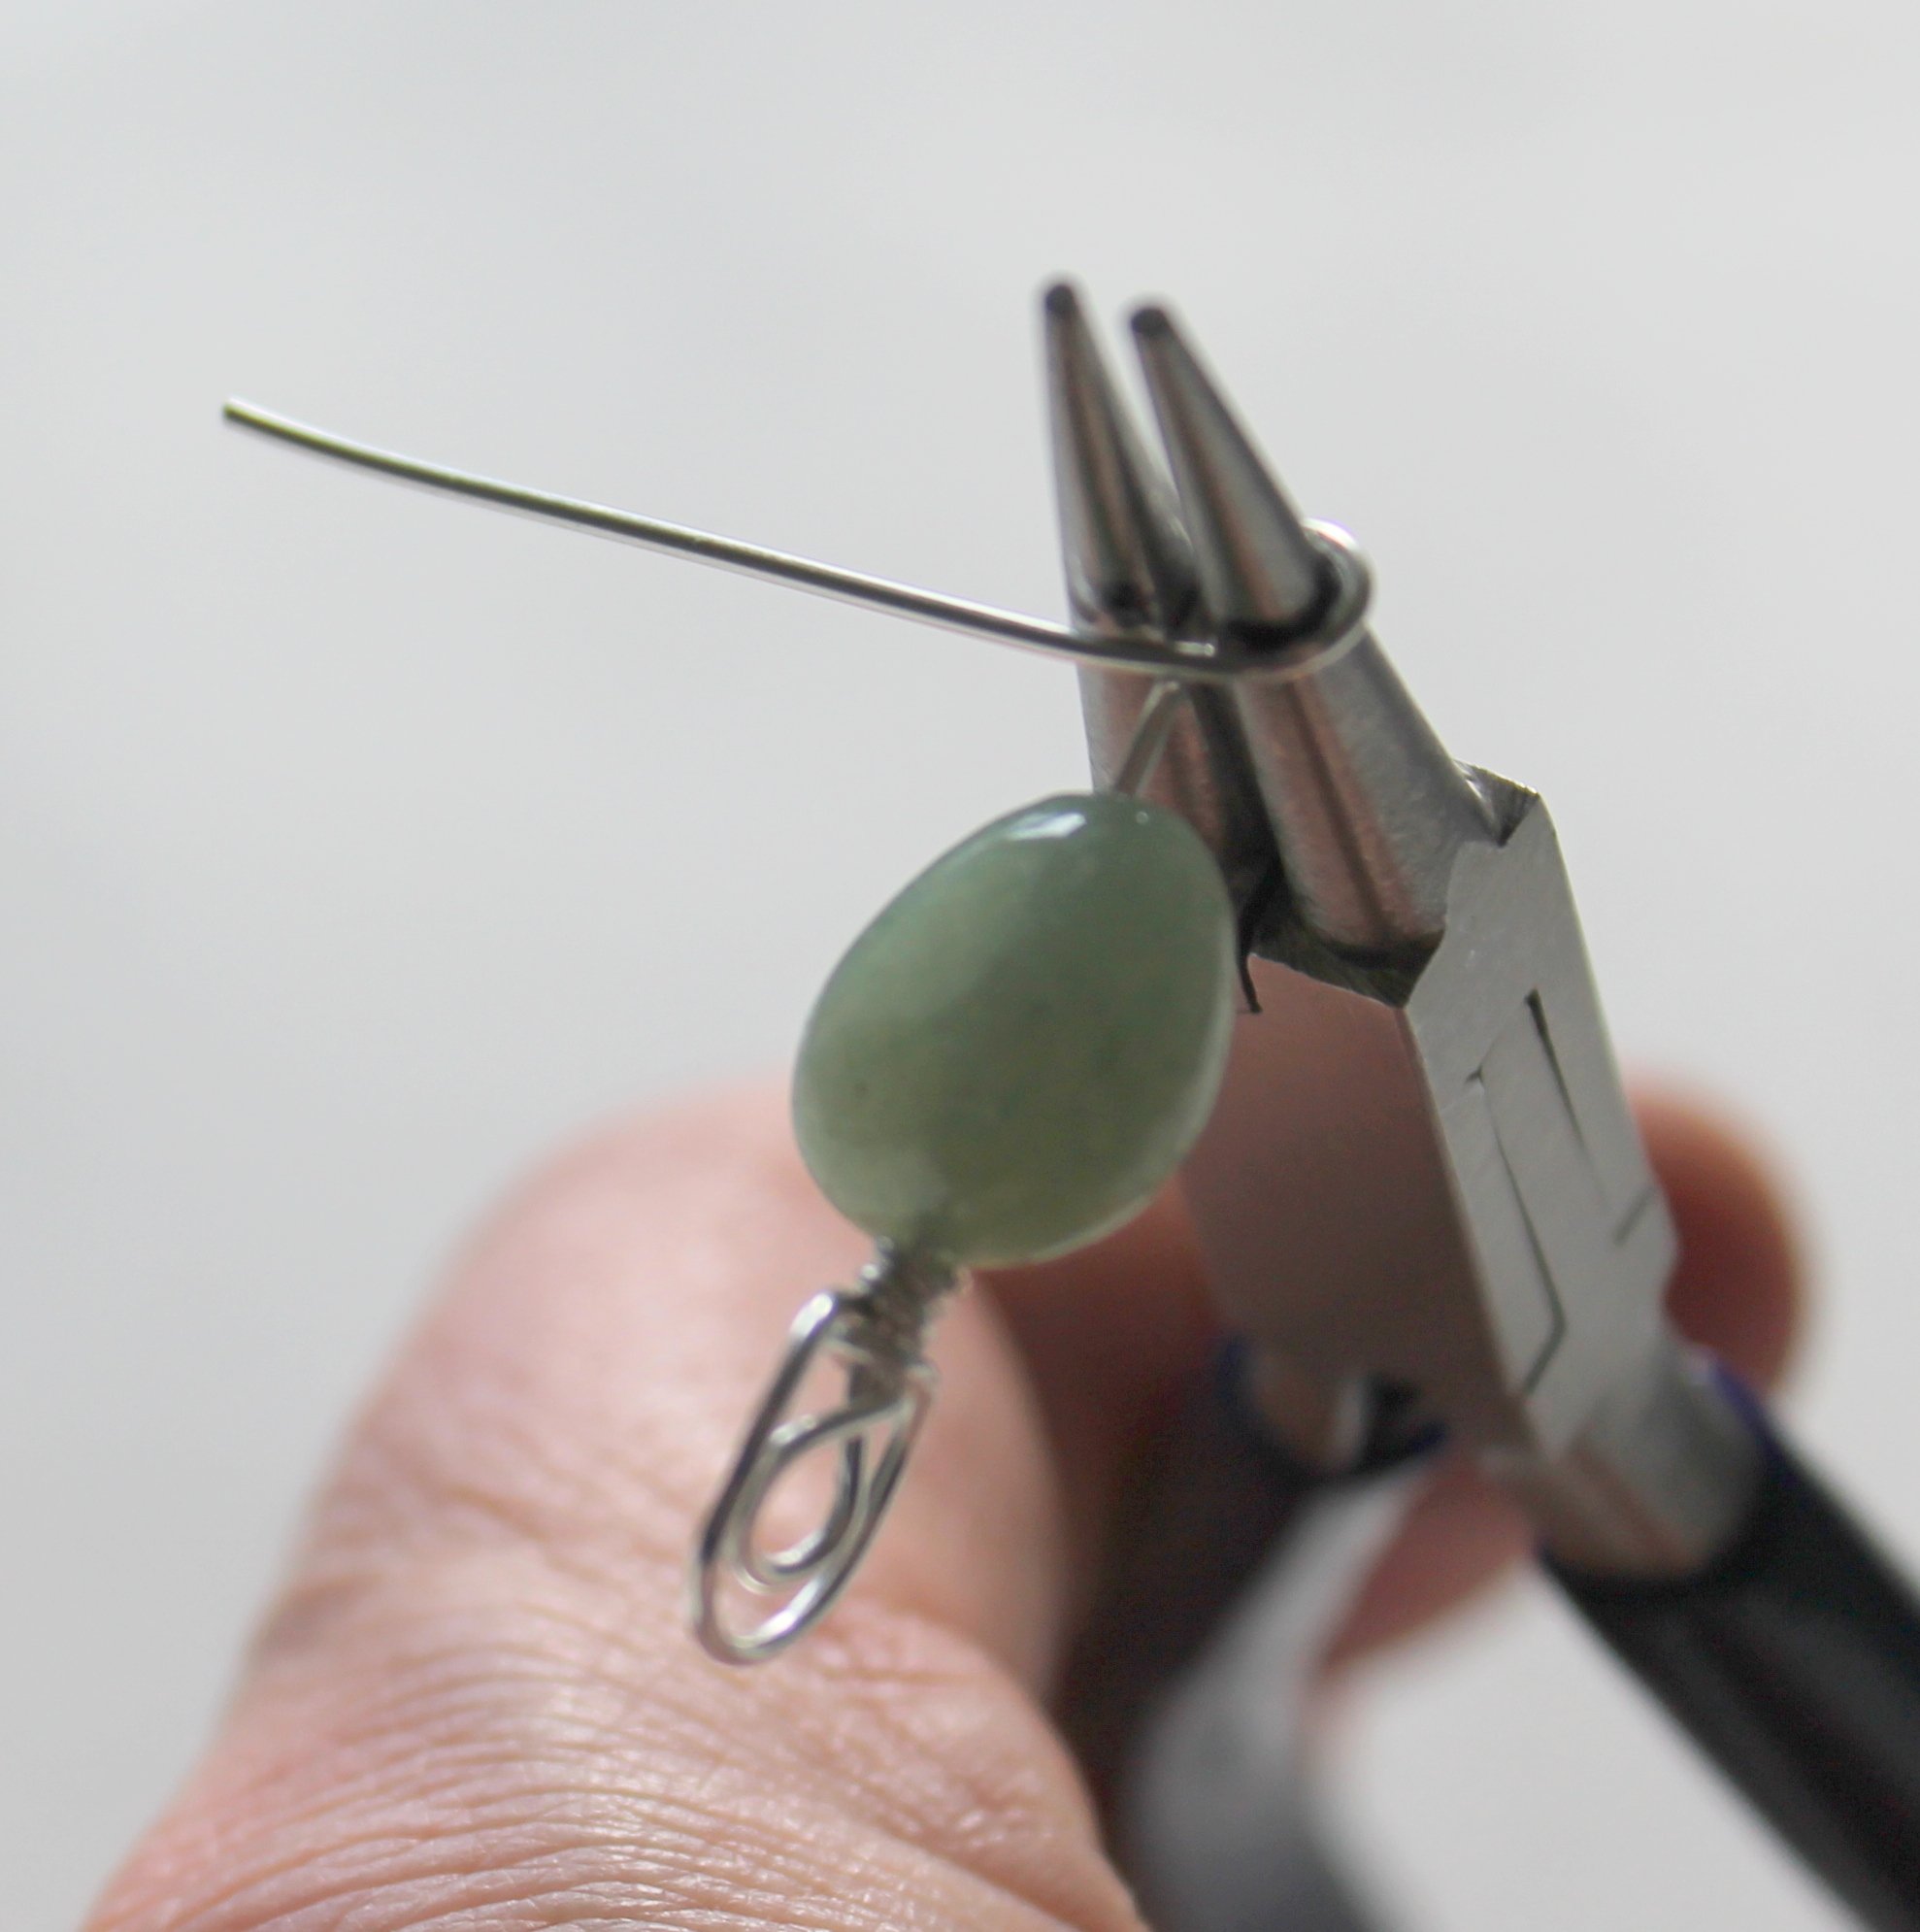
Hold the wire just above the bead in round nose pliers. You should line up the wire with the mark you made earlier to keep your loops uniform.
Step #15
Wrap the wire around the pliers and between the pliers and the bead.

Step #16
Just like before with the headpin loop, this loop is off center. So I straighten it in the same way. Hold the loop in chain nose pliers. Wrap the wire around while pulling the bead/headpin straight and straightening the loop.

Step #17
Hold the loop in chain nose pliers and continue the wraps, keeping them tight and even.

Step #18
Trim off the excess wire.

Step #19
Open an earring wire, place the wire wrapped loop in and close it. Repeat the steps for the second earring.

Ideas to customize these:
Try making a different shape with the end of your headpin.
Use different metal for the wire.
Use different beads.
Use the headpins in completely different jewelry projects.
What else can you think of?
Love wire wrapping and want to learn more? Get my Wire Wrapping for Beginners eCourse and start right away!
Learn more and sign up here: Wire Wrapping for Beginners
